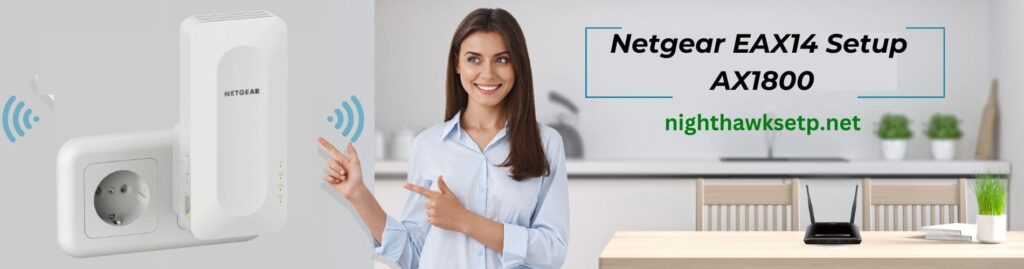
Netgear EAX14 Setup | AX1800
With the powerful Netgear EAX14 Setup, you can increase the performance of your present WiFi network by 1.5 times. With its quad-core 1.5 GHz processor, you can play games and stream 4K UHD content quickly. After setting up the Netgear EAX14 extender, you can start using 1.8 Gbps of lightning-fast WiFi.

How to Setup Netgear EAX14 Manually ?
- Enter the Netgear EAX14’s plug into a power source.
- Make sure your device is connected to the EAX14 using Wi-Fi or an Ethernet connection.
- Using the default IP address, open a web browser and go to the Netgear EAX14 setup page.
- Use the standard username and password to log in.
- To manually configure your EAX14, including Wi-Fi network settings and security options, follow the setup guide.
- While you wait for the EAX14 to reset, save your settings.
- After you’ve rebooted, check that your connection is configured properly.
Netgear EAX14 Extender Setup WPS Button
- Enter the Netgear EAX14’s plug into a power source.
- The WPS LED on the EAX14 will blink if you press and hold the WPS button.
- Press the WPS button for two minutes.
- Watch for the EAX14’s WPS LED to solidly turn white, indicating a successful connection.
- Steps 2-4 must be repeated if the connection is lost.
- After connecting, move the EAX14 to the best spot for more Wi-Fi coverage.
- To make sure the extender is operating properly, test your connection.
Note: If you need any assistance regarding your Netgear wifi extender, get in touch with us via the chat button you see on the bottom right corner of this page.
How to Login Netgear EAX14 | AX1800 ?
- Use an Ethernet cable for connecting your device to the EAX14 or the NETGEAR_EXT Wi-Fi connection.
- In the address bar of an open web browser, input 192.168.1.250 or mywifiext.net login.
- Enter the password and username that are default.
- Tap or click Log In.
- The Netgear EAX14 settings interface will be displayed to you.
- As necessary, modify setups or settings.
- Before closing the interface, save your changes.
Firmware Update Netgear EAX14 WiFi Range Extender
- Use an Ethernet cable or the EAX14 Wi-Fi network to connect your device.
- Start your internet browser and type 192.168.1.250 or mywifiext.net setup into the address box.
- Enter your login information to log in.
- Go to Maintenance or Settings, then choose Firmware Update.
- To check for changes, click or tap it.
- In the event that an update is available, download and install the firmware by following the on-screen directions.
- Restarting the extender will cause the changes to take effect after the update is finished.
Common Issue Netgear EAX14 | AX1800
- Make sure the EAX14 is plugged in and connected correctly by checking the power and connections.
- Make sure the router’s signal reaches the EAX14.
- After unplugging the router and EAX14 for 30 seconds, plug them back in to restart them.
- Update the EAX14’s firmware to the most recent version.
- Use the reset button to return the EAX14 to factory settings if issues continue.
- Make that the router’s name and password correspond with the Wi-Fi network name.
- The EAX14 should be placed away from electrical appliances and thick walls to minimize interference.
- Look for any settings in the EAX14’s setup that conflict.
- Get in contact with Netgear help if issues continue.
- If issues continue, think about moving the EAX14 for improved signal strength.
How to Reset Netgear EAX14 | AX1800 ?
- Find the EAX14’s reset button.
- Put a paperclip or other such device into the reset hole.
- Once the power LED begins to blink, press and hold the reset button for approximately ten seconds.
- Give the reset button a release.

- Wait for a restart and factory default settings recovery of the EAX14.
- Once the reset procedure is finished, adjust the EAX14’s settings as needed.