The Netgear EAX18 Setup, an AX1750 Wi-Fi range extender, is very easy to set up. Connect it to the network, plug it in, and use a web browser to get to the setup page. To set it up using the specifics of your current Wi-Fi network, follow the on-screen directions. After it’s finished, make the most of increased Wi-Fi coverage that will keep all of your devices reliably connected throughout your room.
Click on the Netgear EAX18, create an Ethernet or Wi-Fi connection, and use mywifiext.net setup or 192.168.1.250 in your browser to view the setup page.
Use the default login information, which is often admin for both the username and password.
Configure the Wi-Fi settings by following the setup guide.
Choose the Wi-Fi network you currently use and type in the password.
If required, modify the extender’s parameters and save them.
Reconnect your device to the increased Wi-Fi network after the extender has restarted.
Note: If you need any assistance regarding your Netgear wifi extender, get in touch with us via the chat button you see on the bottom right corner of this page.
Netgear EAX18 AX1750 Extender Setup WPS Method
How To Login Netgear EAX18 Extender ?
Click the WPS button on the Netgear EAX18 after plugging it in.
Hit the WPS button for two minutes.
Wait off until the extender’s WPS LED solid white, confirming a successful connection.
For best coverage, move the extender to the center.
Join the expanded Wi-Fi network with your devices.
To make any other setup changes, go to mywifiext.net or 192.168.1.250 to access the extender settings.
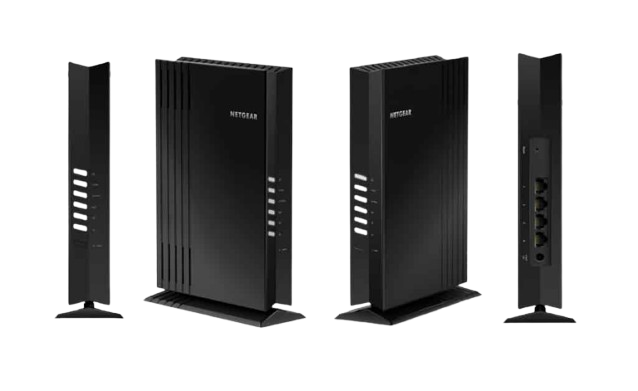
In a web browser, type 192.168.1.250 or mywifiext.net login after connecting to the EAX18 network over Ethernet or Wi-Fi.
Make use of the default credentials to log in.
Get into the Netgear EAX18 configuration screen.
When required, change the extender’s settings.
If you make any changes, save them, then close the interface.
A reliable connection to the expanded Wi-Fi network should be created.
How To Update Firmware Netgear AX1750 EAX18 Extender ?
After creating a Wi-Fi or Ethernet connection with the EAX18, use a browser to navigate to its settings page by typing in mywifiext net setup or 192.168.1.250.
Enter username and password to log in.
Go to the Maintenance or Settings area.
Choose Firmware Update and then press or touch Check for Updates.
Follow the on the screen instructions if an update is available.
To apply the updates, restart the extender after the upgrade.
Netgear AX1750 EAX18 Reset Process
Find the EAX18’s reset button, which can be found on the side or bottom.
Hold down the reset button with a paperclip or other such device for approximately ten seconds.
After the power LED blinks, release the reset button.
A reboot of the EAX18 will indicate that the reset is finished.
After the reset process, adjust the extender’s settings as required.