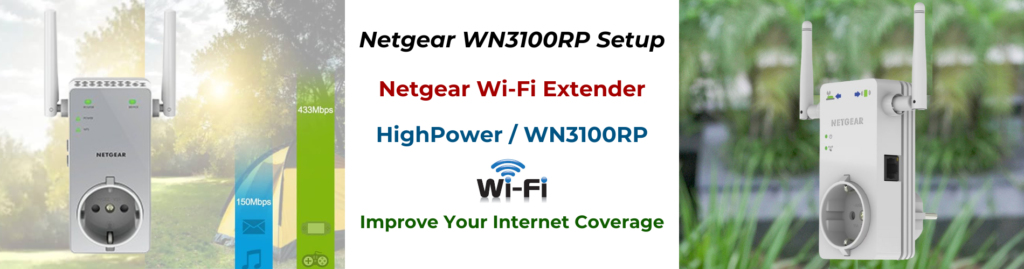
Netgear WN3100RP Setup
The NETGEAR WN3100RP setup is a WiFi range extender that is universal and can extend WiFi coverage beyond the host router or gateway’s range. Between the client device and the router, WN3100RP functions as a bridge. The client device must be connected to the extender’s network name, which ends in EXT, in order to access the network. This manual covers every aspect of how to do the WN3100RP SETUP procedure. Having said that, you should read on.
Netgear WN3100RP Extender Setup Using WPS
Netgear WN3100RP WiFi Extender Manual Steps
- Plug in the Netgear WN3100RP extender.
- Wait for the power LED to turn solid green.
- Press the WPS button on your router.
- Click the WPS key on the extender.
- Watch for the WPS LED on the extender to turn bright green.
- Check the extender’s position for optimal signal.
- Connect devices to the extended network.
- Plug in the Netgear WN3100RP extender.
- Connect to the extender’s default WiFi network.
- Visit mywifiext.net Setup using an open internet browser.
- Follow the setup wizard to select your WiFi network.
- Enter your WiFi password.
- Wait for the extender to connect and apply settings.
- Reconnect your devices to the extended network.
Note: If you need any assistance regarding your Netgear wifi extender, get in touch with us via the chat button you see on the bottom right corner of this page.
Got Stuck with Issues After Netgear WN3100RP Setup?
How do I log into Netgear WN3100RP?
After completing the installation procedure, many users go insane because they are trapped with extender-related problems. If any of these apply to you, you should reset the networking device.
The gadget can be RESTORED to the FACTORY SETTINGS by pressing the RESET button. Read these steps to gain comprehensive knowledge about how the process is carried out:
- Locate the FACTORY RESET hold, then place a PAPER CLIP inside.
- Keep holding down the button until the power LED turns amber.
- After a little while of holding on, release the button.
- For three seconds, every LED light on the WN3100RP will go off.
- Subsequently, the LED light source will turn solid green.
Since this method resets the device to its factory default settings, you will need to start the Netgear WN3100RP setup procedure over by following the instructions provided above.
- Plug in the Netgear WN3100RP extender.
- Connect your computer or device to the extender’s WiFi network.
- Open a web browser.
- You can type 192.168.1.250 or mywifiext.net setup into the URL bar.
- Press Enter.
- Log in with the default username and password (admin/password).
- Click Login.
- Follow the setup wizard or navigate to settings.
- Change any desired settings and save.
How do I update my NETGEAR WN3100RP Extender firmware?
How to Reset Netgear WN3100RP?
- Connect your computer to the extender’s network.
- Open a web browser.
- You can type 192.168.1.250 or mywifiext.net setup into the URL bar.
- Log in with your username and password.
- Go to the Settings tab.
- Select Firmware Update.
- Click Check for Updates.
- If an update is available, click Download.
- Follow the prompts to install the update.
- Wait for the extender to restart and apply the update.
- Locate the Reset button on the extender.
- Press the reset button.
- Hold the button for about 10 seconds.
- Release the button when the power LED blinks.
- Wait for the extender to restart.
- The extender will return to factory settings.