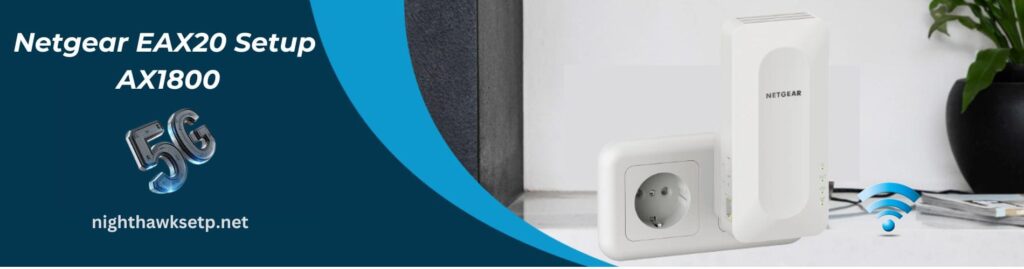
Netgear EAX20 Setup | AX1800
The Netgear EAX20 setup is designed to provide faster WiFi and cover a wider area, making it the wireless internet of the future. Even in the most remote part of your home, you will have access to internet speeds of up to 1.8Gbps once you have completed the Netgear EAX20 extender setup. This article will assist you if you are unfamiliar with how to install this fantastic range extender.
Netgear EAX20 Extender Setup | AX1800-Manual Guide
- Join the Netgear EAX20 to an Ethernet or Wi-Fi network by plugging it in.
- Use a web browser to go to the extender’s settings page and type mywifiext.net login or 192.168.1.250.
- Use the default login information, which is often admin for both the username and password.
- To configure Wi-Fi settings, choose your current network and input its password by following the setup procedure.
- If required, modify the extender’s settings and save them.
- Reconnect the devices to the increased Wi-Fi network after the extender has rebooted.
- To guarantee correct configuration, test the connection.
Note: If you need any assistance regarding your Netgear wifi extender, get in touch with us via the chat button you see on the bottom right corner of this page.
Netgear EAX20 WiFi Range Extender Setup | AX1800-WPS Guide
How To Login Netgear EAX20 AX1800 Extender ?
- After plugging in the Netgear EAX20 and pressing the WPS button on it, push the WPS button on your router and wait two minutes.
- Hold off until the extender’s WPS LED pure white, indicating a successful connection, turns on.
- Do it again if the connection drops.
- For best coverage, move the extender to the center of the room.
- Connect your devices to the Wi-Fi network that is extended.
- Use mywifiext.net setup or 192.168.1.250 to access the extender settings and make any extra configuration changes that may be required.
- Use Ethernet or Wi-Fi to connect to the EAX20 network.
- Go to mywifiext net setup or 192.168.1.250 in your web browser.
- Use the default login information, which is often admin for both the username and password.
- Open the Netgear EAX20 configuration panel.
- Adjust the extender’s settings as necessary.
- Save every change, then close the interface.
Netgear EAX20 WiFi Range Extender Firmware Update
- Use Ethernet or Wi-Fi to connect to the EAX20 network.
- Use the web addresses www.mywifiext.net setup or 192.168.1.250 to access the extender settings in a browser.
- Use the default login information, which is often admin for both the username and password.
- Select Settings or Maintenance from the menu.
- Click Check for Updates after selecting Firmware Update.
- To make modifications take effect, restart the extender after following the instructions to update the firmware.
How To Reset Netgear EAX20 AX1800 ?
- Find the EAX20’s reset button, which is usually located on the side or bottom.
- Hold down the reset button with a paperclip or other such instrument for approximately ten seconds.
- After the power LED blinks, release the reset button.
- A reboot of the EAX20 will indicate that the reset is finished.
- After the reset procedure, adjust the extender’s settings as necessary.