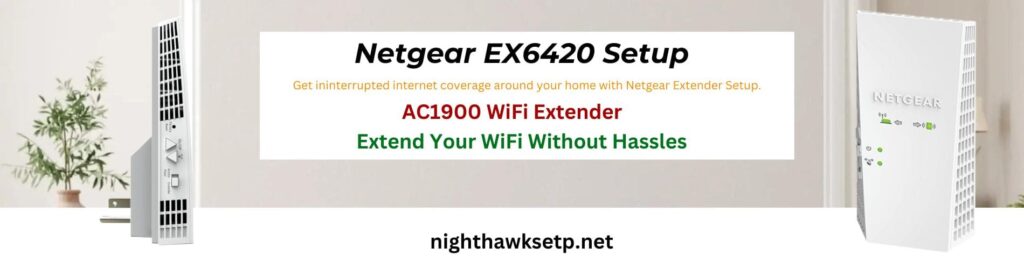
Netgear EX6420 Setup
It is quite easy to use Netgear EX6420 extender Setup. The extender should first be plugged into an electrical outlet close to your router. Hold off until the Power LED becomes green. Next, use your WiFi-capable device to connect to the extender’s default WiFi network, which should be identified as NETGEAR_EXT. You will then be redirected to the Netgear installation helper. To link the extender to your current WiFi network, follow the instructions displayed on the screen. After setting it up, you can relocate the extender to a new spot that is roughly midway between your router and the one where WiFi reception is spotty. For best results, make sure the new location has at least 50% signal strength from your router.

Netgear EX6420 Wifi Extender Setup via Manual Setup
- Find a power outlet close to your WiFi network and plug in the Netgear EX6420.
- Await the extender’s Power LED becoming green.
- Using a WiFi-capable device, join the “NETGEAR_EXT” network of the extender.
- Open a web browser, then navigate to mywifiext.net setup to reach the configuration page.
- To link the extender to your current WiFi network, adhere to the on-screen instructions.
- To ensure optimal signal strength, move the extender to a location midway between your router and the WiFi dead zone.
- To make sure that the extended WiFi adequately covers the necessary area, test it.
Note: If you need any assistance regarding your Netgear wifi extender, get in touch with us via the chat button you see on the bottom right corner of this page.
Netgear EX6420 Setup via Wps Method
- Find a power outlet close to your WiFi network and plug in the Netgear EX6420.
- Check that the extender’s Power LED is lit green.
- On the router, click the WPS key.
- Hit the EX6420’s WPS button within two minutes.
- Hold off until the extender’s WPS LED illuminates, signifying a successful connection.
- Place the extender in a way that best connects the router to the spot where the WiFi signal is poor.
- To begin taking advantage of the better coverage, connect your devices to the newly expanded WiFi network.
Netgear EX6420 WiFi Range Extender Login Steps
Netgear EX6420 WiFi Extender Update Firmware
- Verify that the Netgear EX6420 is powered on and plugged in.
- Link your gadget to the WiFi network that the extender offers.
- Enter mywifiext.net login in the URL bar of an open internet browser.
- Enter the standard login information, which is typically “password” for the password and “admin” for the username.
- Select the ‘Login’ option to gain access to the settings dashboard of the extender.
- After logging in, adjust the settings to best suit your WiFi network.
- Link your gadget to the WiFi network that the Netgear EX6420 has expanded.
- Open your preferred browser and go to mywifiext net setup.
- Enter your admin credentials to log in.
- Choose Settings from the dashboard, and then click Firmware Update.
- To find out if there are any firmware upgrades available, click Check Online.
- Click Download to begin the download process if there is an update available.
- Click Update to begin installing the updated firmware after the download is finished.
- Watch for the automatic reboot of the extender to indicate that the firmware upgrade is complete.
Netgear EX6420 Reset Process
- On your Netgear EX6420, look for the Reset button, which is usually on the side.
- Using a paperclip, press and hold the Reset button for seven seconds.
- When the power LED begins to blink, indicating the start of the reset, release the button.
- Allow the extender to restart; this could require a few minutes.
- Change the extender settings by going to mywifiext.net setup and establishing a connection with NETGEAR_EXT.